
How to Do Screen Printing at Home: A DIY Guide

Screen printing is a popular method of creating custom apparel, art prints, and more, and it’s entirely possible to set up a DIY screen printing studio at home. Whether you’re looking to create unique t-shirts or custom artwork, this guide will take you through the process from start to finish.
Introduction
Screen printing at home can seem daunting, but with a little practice and the right materials, it can be an enjoyable and rewarding hobby. This guide is inspired by the simplicity and accessibility of the screen printing process, making it a viable option for anyone interested in DIY projects.
The Basics of Screen Printing
Screen printing involves transferring an image onto a substrate (typically fabric or paper) using a mesh screen, ink, and a squeegee. The basic steps include choosing an image, preparing the screen, and then printing the image.
Materials Needed
– Screen printing frame: You can buy these or make your own using wood and polyester mesh.
– Photo emulsion and sensitizer: Used to coat the screen and create the stencil.
– 150-watt bulb or LED equivalent: Needed for exposing the screen.
– Squeegee: For pushing the ink through the screen.
– Ink for screen printing: Fabric paint is typically used.
– Glass panels: Helps during the exposure process.
– Miscellaneous tools: A printer for your designs, an Exacto knife, and tape.
Of course, you can purchase cheaper kits off Home Depot, especially if you don’t want to go through the trouble of locating all the items yourself.
Step-by-Step Guide
1. Pick and Print an Image
When you’re just starting out with screen printing, selecting the right kind of image for your project can greatly influence your success and enjoyment of the process. A simple silhouette image, such as a tree, star, or basic geometric shapes, is ideal for beginners. These designs have clear, bold lines and minimal intricate details, making them easier to print and less likely to encounter issues during the exposure and washing stages.
To prepare your design, print it onto regular paper. This can be done with any standard printer. Ensure that the areas of your design that you want to appear on the final product are completely black and opaque. The darkness of these areas is crucial because it blocks the light during the exposure process, ensuring that the emulsion in these areas remains soft and can be washed away to form your stencil.
As you gain more confidence and skill, you might want to explore more complex and detailed designs. This is where transparency film becomes essential. Transparency film allows for a sharper and more precise blocking of light, which is necessary for capturing finer details in your design. Printing on transparency film ensures that even the smallest lines and intricate patterns are clearly defined during the exposure process, leading to a more accurate and professional-looking print.
Using transparency film also helps in achieving cleaner and more consistent results, which is particularly important when working with multi-color designs or layering different images. This step up in materials complements the progression in your screen printing skills, allowing for greater creativity and complexity in your projects.
2. Make a Screen Printing Frame
Construct a frame using 2×2 wood and stretch polyester mesh tightly across it. Secure the mesh with staples, ensuring it’s evenly tight without ripping.
3. Prepare and Burn Your Screen
Coat your screen with a light-sensitive photo emulsion in a dark room. After it dries, place your printed image on the screen, and expose it to a 150-watt lightbulb set approximately 18 inches above. The areas of the emulsion shielded by your image remain uncured and will wash out later, creating your stencil.
4. Exposing Your Screen
After the exposure step, it’s time to bring your design to life by washing out the screen. This process will clear out the unexposed areas of the photo emulsion, leaving behind your stencil—the blueprint of your design. To do this, use lukewarm water, as extreme temperatures can affect the emulsion that’s been set.
Start by gently spraying the screen with a mild, even stream of water. Focus the water directly on the areas where your design has been applied. You’ll notice the emulsion in these areas start to dissolve and wash away, revealing your clear stencil against the mesh. This is the negative space through which the ink will pass during the printing process.
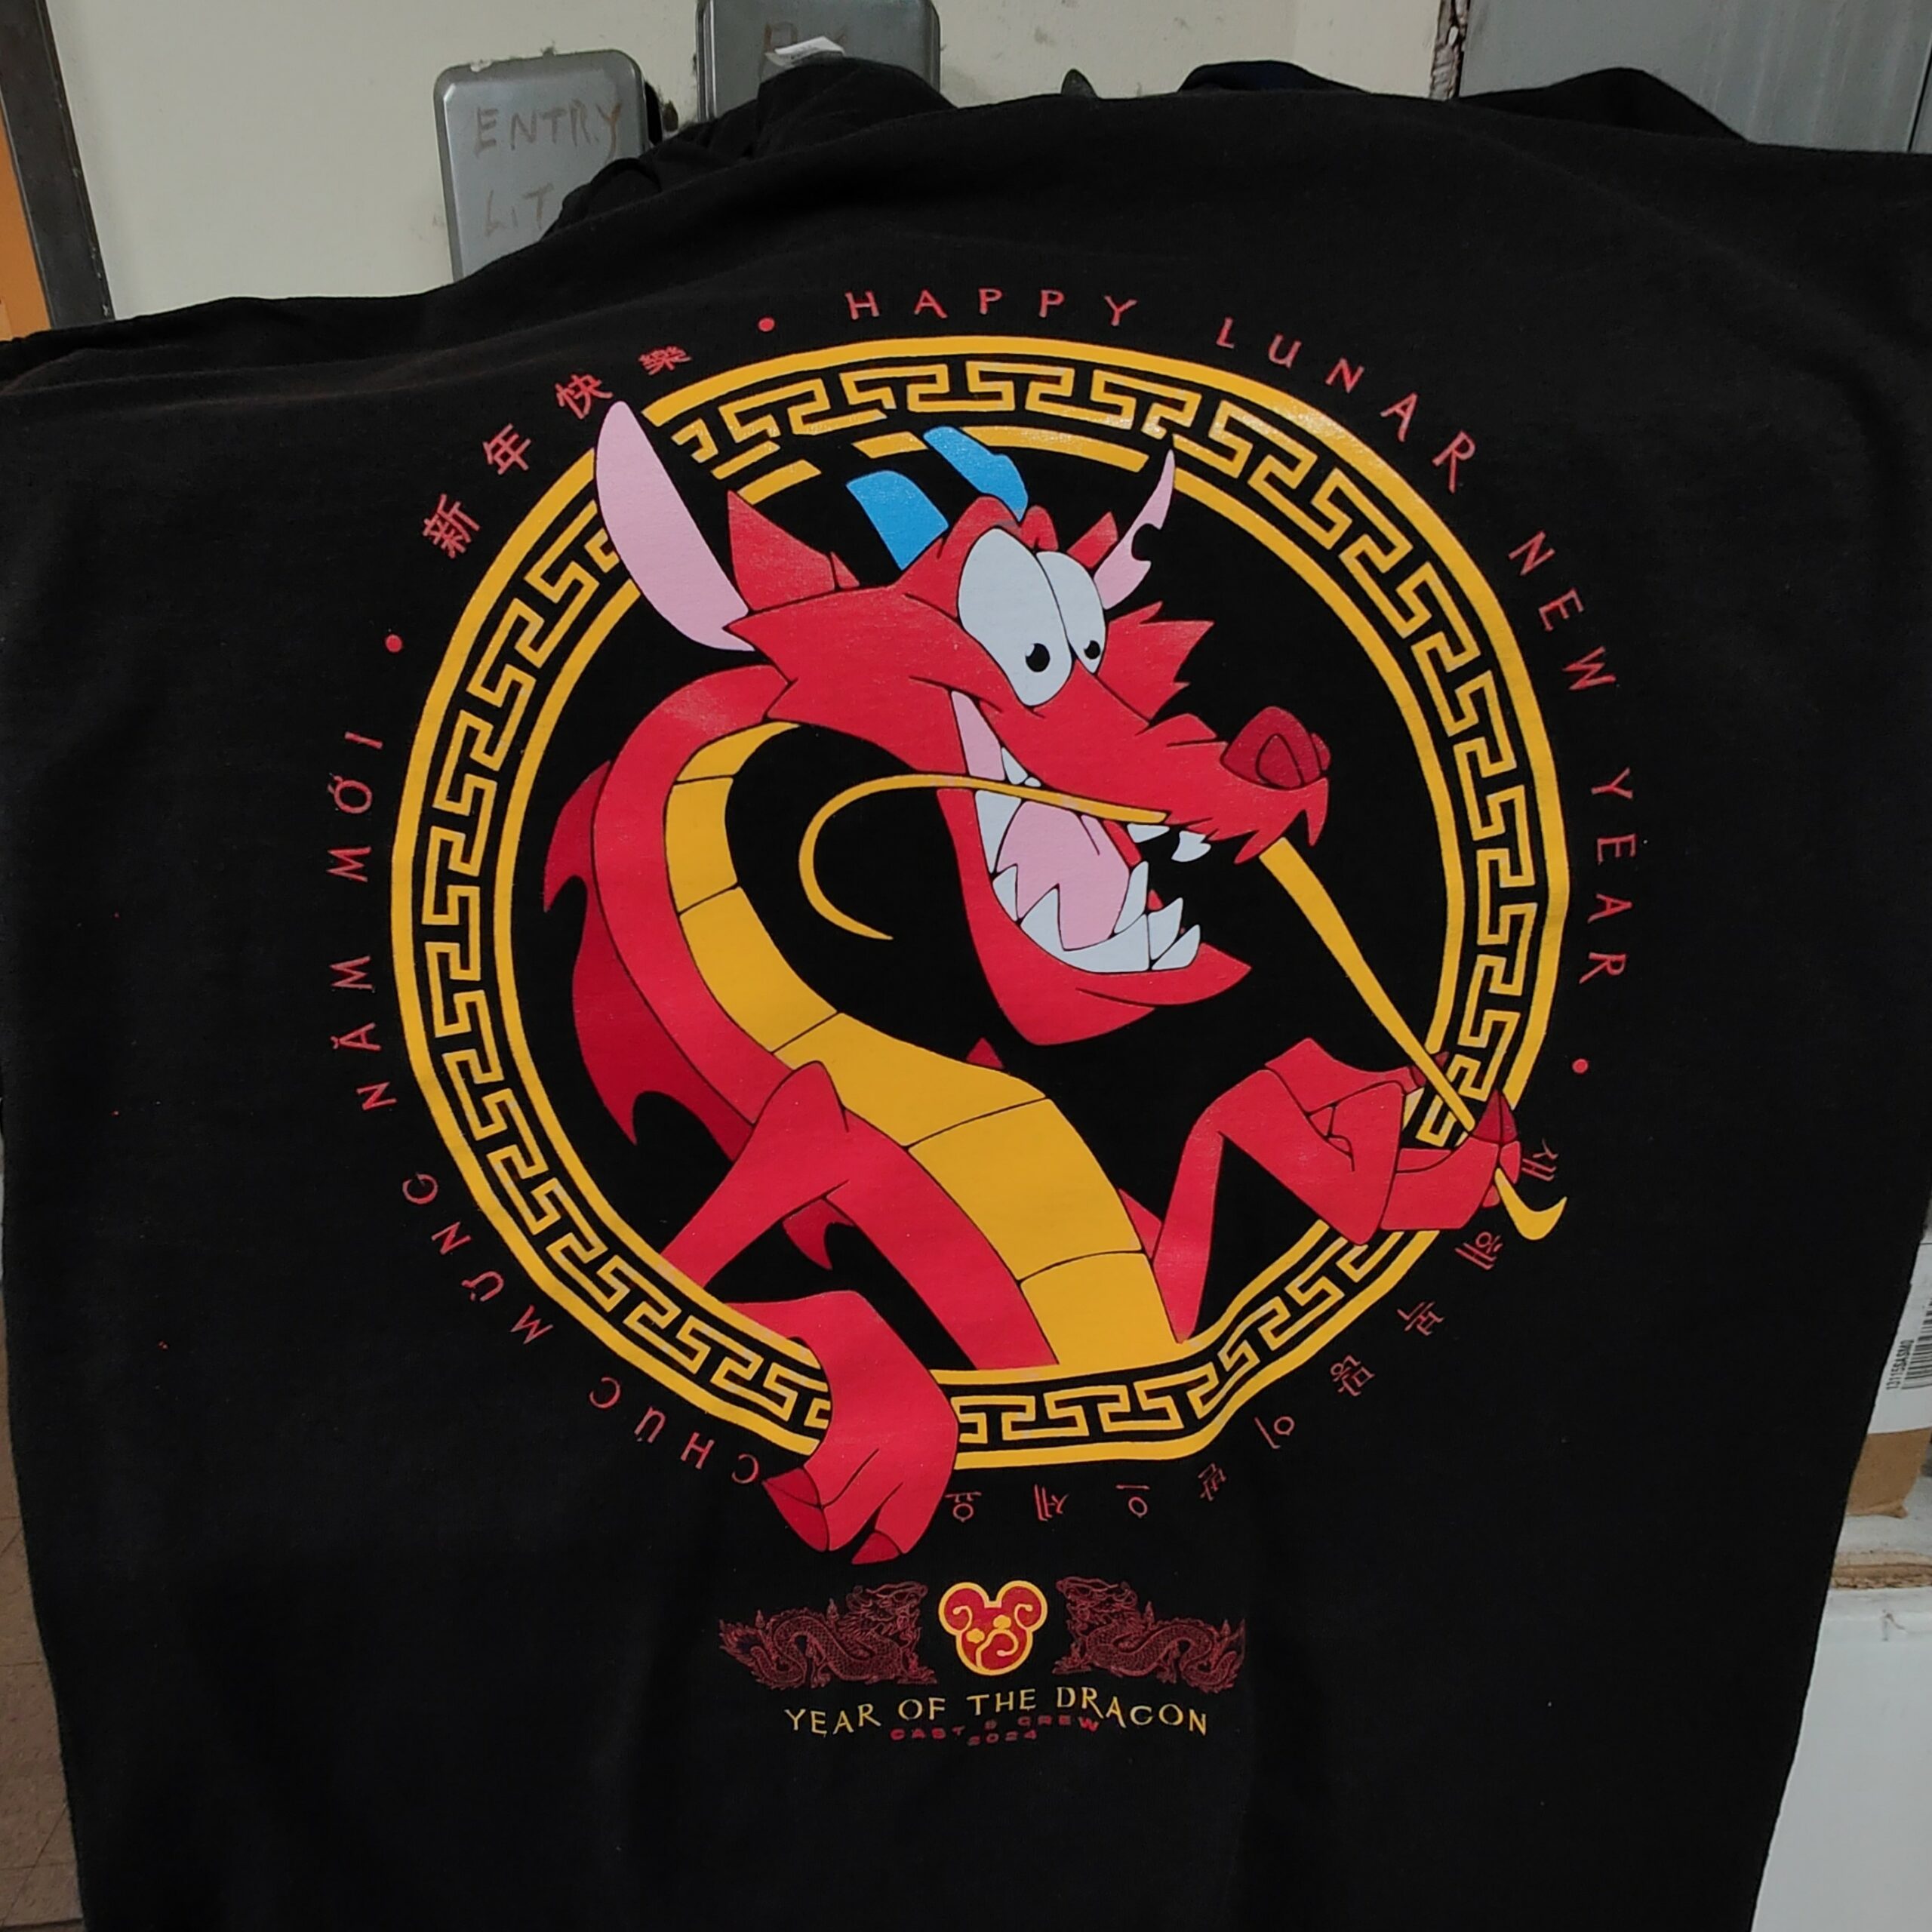
Here are some shirts that would be great to screen print on if you aren’t sure of what to look for. You may have to search for apparel screen printing near me but not found anything, so here’s some recommendations you can find conveniently on Blankstyle:
Wholesale hoodies for screen printing & tees:
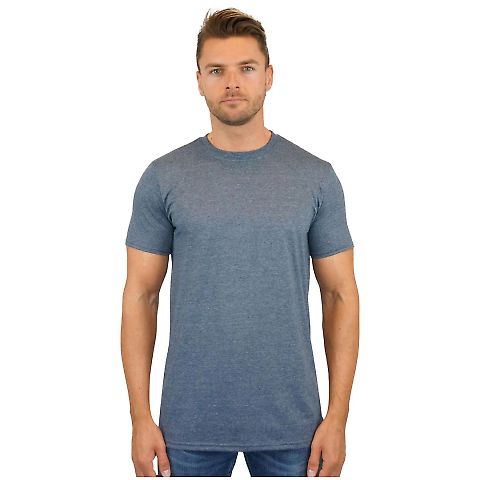
Hanes 5280 ComfortSoft Essential-T T-shirt
 The Hanes 5280 ComfortSoft Essential-T T-shirt is an excellent choice for screen printing due to its variety of fabric blends and extensive color options. Made from 100% cotton and variations thereof, it provides a smooth and durable surface for ink adherence, crucial for high-quality prints. Its 5.2-ounce weight ensures the shirt is substantial enough to handle the screen printing process without compromising on comfort. With features like double needle stitching, the tee offers enhanced durability, making it ideal for custom designs that need to withstand repeated wear and washing. The availability of 45 colors allows for creative flexibility, and the shirt’s sustainably sourced materials and certifications like the Energy Star Partner and CDP ‘A’ list status add an eco-friendly appeal, making it attractive for both creators and eco-conscious consumers. The tagless label transitioning to a tear-away label also ensures greater comfort for wearers, enhancing the overall value of the custom-printed merchandise.
Gildan 18500 Heavyweight Blend Hooded Sweatshirt
 The Gildan 18500 heavyweight hoodie is one of the best hoodies for screen printing due to its robust fabric composition and construction features. Its 8oz heavy blend of 50% USA grown cotton and 50% polyester offers a durable yet soft canvas that is excellent for ink adherence, crucial for vibrant and lasting prints. The spun yarn construction of the hoodie reduces pilling, ensuring that the surface remains smooth and neat, enhancing the quality of printed designs over time. This makes it particularly suitable for promotional use in schools, churches, and events where long-lasting apparel is necessary. Additionally, the double-lined hood and matching drawstring provide additional areas for customization, while the tubular construction ensures a consistent fit and finish. Available in a wide range of sizes (S-5XL) and over 48 colors, this hoodie allows for vast creative and practical flexibility in design and bulk ordering. The tear-away tag also adds to the comfort and ease of rebranding, making the Gildan 18500 a top choice for screen printing projects aimed at quality and comfort.
Gildan 5000 Wholesale Heavy Weight Cotton Plain T Shirt Bulk Pricing
 The Gildan 5000, also known as the Gildan G500 heavyweight cotton tee, is a superb option for screen printing, thanks to its robust 5.3 oz 100% preshrunk cotton construction which offers a smooth, durable surface for vibrant and lasting prints. The tee’s classic fit and seamless tubular body provide a uniform printing area that facilitates easier screen alignment and larger, uninterrupted designs. Additionally, it features a tearaway tag, simplifying the process of rebranding with custom tags for a professional touch. Available in an extensive range of 70 colors and sizes from S to 5XL, the Gildan 5000 combines versatility with affordability, making it an ideal choice for businesses looking for high-quality, customizable bulk apparel options.
5. Screen Printing
Lay your substrate flat and place the screen over the area to be printed. Pour some ink onto the screen, and use a squeegee to spread the ink across and through the mesh to the substrate.
6. Curing and Finishing
After printing, allow the ink to dry completely, then use a dry iron to heat-set the print, ensuring it’s wash-fast.
Tips for Success
– Test Exposure Times: Depending on your setup, exposure times can vary. Test with different durations to find what works best for your equipment.
– Practice Makes Perfect: Before printing on your final material, do a few test runs on scrap fabric to ensure your technique is solid.
– Maintain Your Equipment: Clean your screen immediately after use to prevent the ink from curing in the mesh.
Conclusion
Screen printing at home is a fantastic way to unleash your creativity and make personalized items. With some practice and experimentation, you can master this art form and produce high-quality prints from the comfort of your own home. So why not give it a try? The results are rewarding, and the process itself is a lot of fun!