
How to Use Heat Transfer Vinyl to Make a Custom T-Shirt at Home
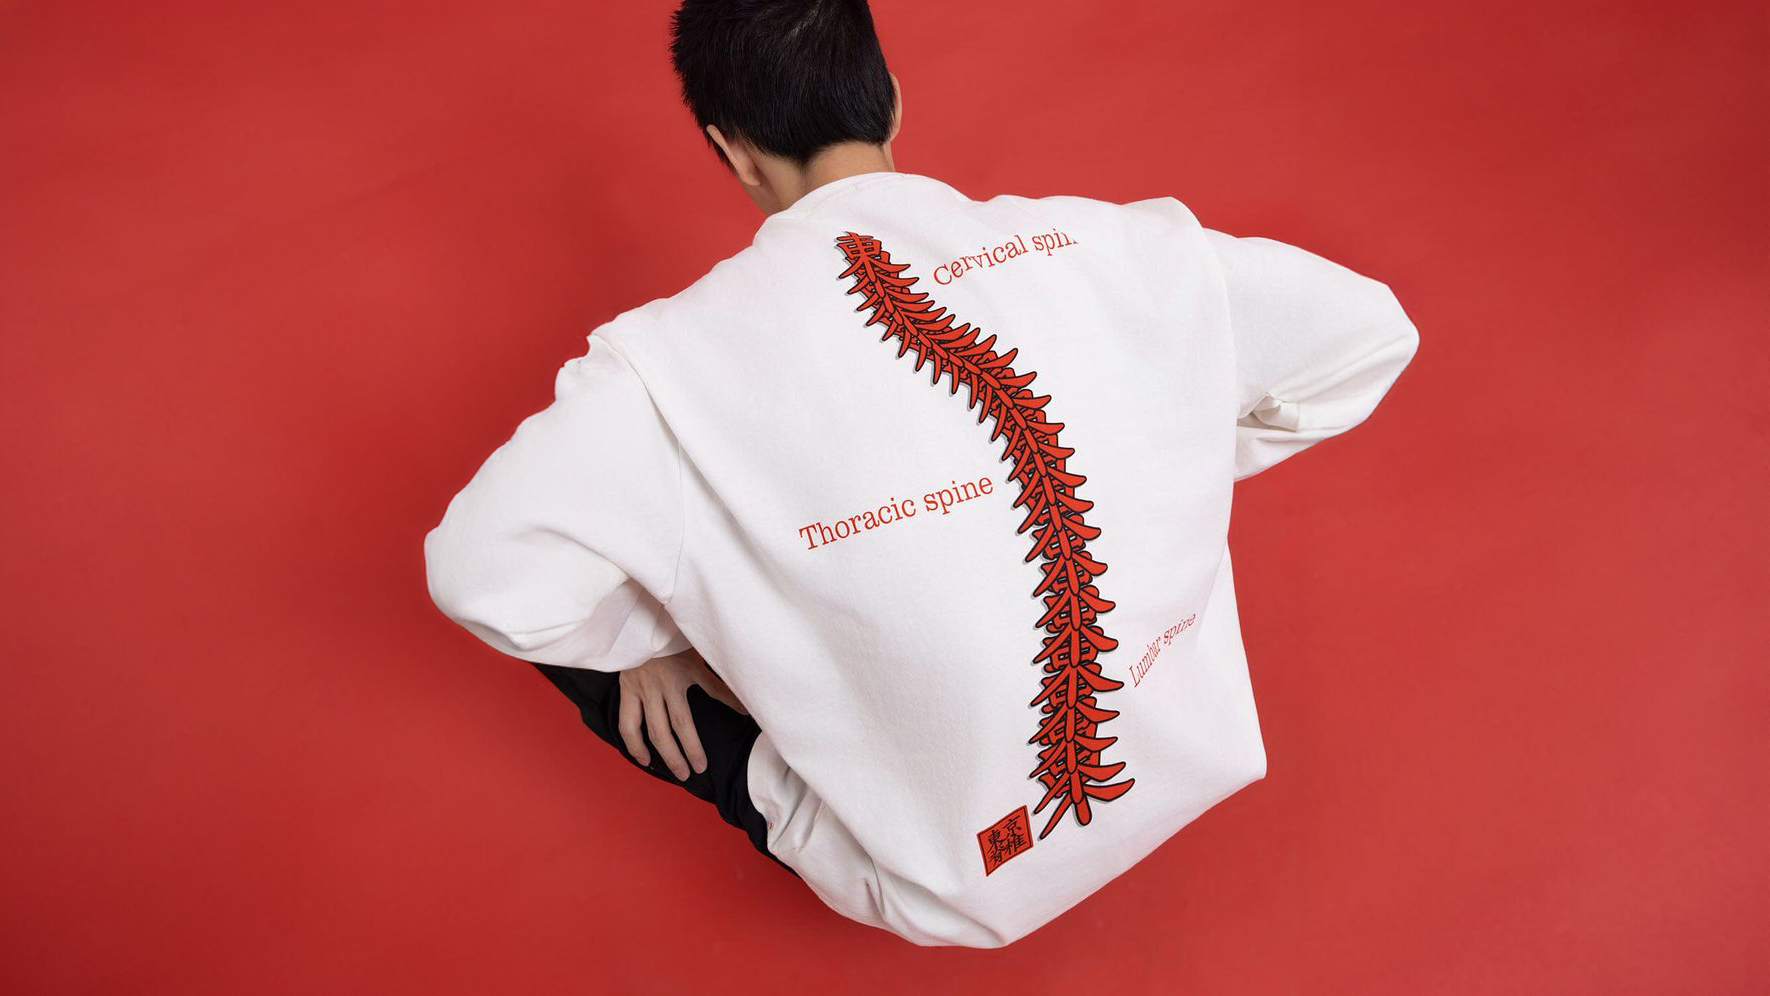
Creating custom t-shirts at home is a fun and rewarding DIY project, and using heat vinyl transfers (HTV) is one of the easiest and most effective methods to achieve professional-looking results. Whether you want to make a personalized gift, start a home-based business, or simply express your creativity, this guide will walk you through the process of using HTV to design your own t-shirts.
What You Need:
– Heat Transfer Vinyl: Available in a variety of colors and finishes (like matte, glossy, and glitter).
– Cutting Machine: A Silhouette Cameo or Cricut machine is ideal for precisely cutting your designs.
– Weeding Tools: These help remove excess vinyl from your design. Tweezers can work in a pinch
– T-Shirt: Choose a high-quality, preferably cotton, shirt for best results. We have some suggestions below!
– Iron or Heat Press: A heat press is more consistent but an iron works if you don’t have access to a press.
– Parchment Paper or Teflon Sheet: To protect the vinyl and fabric during the heat application.
Where to start (T shirt recommendations):
 The Alstyle 1301 t-shirt is an ideal choice for customization using heat transfer vinyl due to its high-quality, thick 6oz 100% cotton fabric, which provides a stable and smooth surface for vinyl application. This fabric’s weight ensures that it can withstand the high temperatures required for heat transfer without warping or distorting, crucial for achieving sharp, vivid transfers that last. Moreover, its preshrunk nature minimizes further shrinkage post-application, maintaining the integrity of the designs. The availability of a wide range of colors and sizes (S-4XL) offers great versatility for various designs and preferences. Additionally, the tearaway label enhances the ease of rebranding and customization, making it perfect for creating professional-looking, personalized or branded apparel.
 The Bella Canvas 3001 t-shirt is perfectly suited for heat transfer vinyl (HTV) applications, thanks to its premium quality construction. This shirt is made from 100% Airlume combed and ringspun cotton, which provides an exceptionally smooth and stable surface that is ideal for HTV. The fine weave of the fabric ensures that heat transfer designs adhere cleanly and durably, reducing the likelihood of peeling or cracking over time. Furthermore, the tearaway label simplifies the rebranding process, making it an excellent choice for businesses or individuals looking to customize or sell their designs. With its soft texture and consistent retail fit, the Bella Canvas 3001 is for anyone looking to produce high-quality, custom apparel using heat transfer vinyl.
The Next Level 6210 crew shirt is an excellent choice for heat transfer vinyl applications due to its blend of 60% combed ring-spun cotton and 40% polyester. This CVC (Chief Value Cotton) jersey combines the softness and breathability of cotton with the durability and less-prone-to-wrinkling characteristics of polyester, creating an ideal substrate for HTV. Additionally, the lightweight, 4.3 oz/yd² fabric makes the shirt comfortable to wear, enhancing the appeal of the finished product. With features like a tear-away tag and a variety of over 35 color options, this shirt not only offers high quality and comfort but also versatility in customization for any project or brand.
Step-by-Step Guide for how to install vinyl transfers:
1. Design Your Artwork:
Start by creating your design. You can use software like Adobe Illustrator or free online tools that work with your cutting machine. Keep your design simple if you are a beginner. Once your design is ready, make sure to mirror the image before cutting. This is crucial as you will be placing the vinyl face down on your t-shirt.
2. Prepare the Vinyl:
Load your vinyl sheet into the cutting machine with the clear plastic backing facing down. Use the software associated with your cutting machine to send your mirrored design to the cutter. Ensure your cutting settings are adjusted according to the type of HTV you are using.
3. Weeding the Excess Vinyl:
After cutting, weed out the excess vinyl from your design using the weeding tools. Be patient and careful, especially around small letters and intricate designs.
4. Pre-Heat Your T-Shirt:
Preheat your iron or heat press to the temperature recommended by the HTV manufacturer. Iron the shirt briefly to remove any wrinkles and moisture. This step helps in achieving a cleaner application.
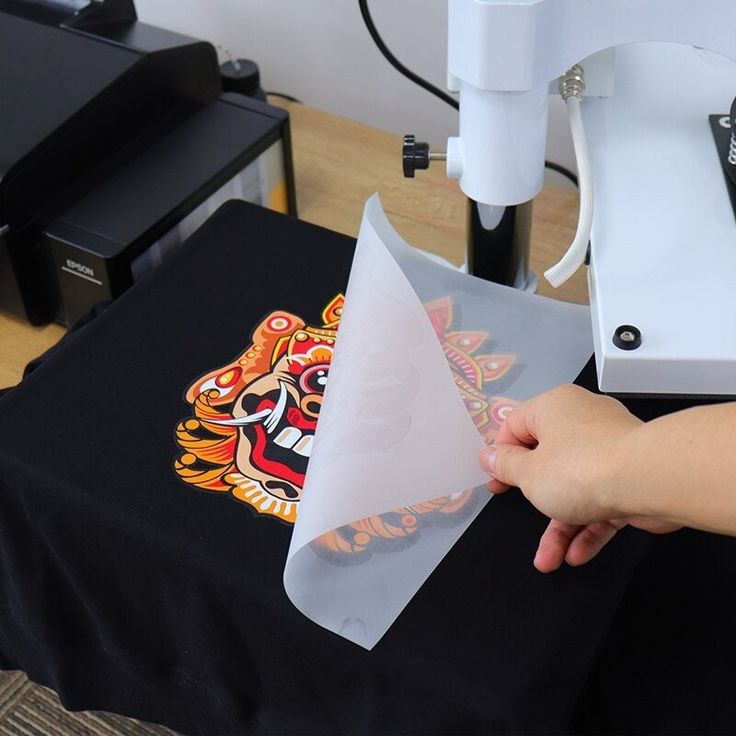
5. Apply the Vinyl to Your T-Shirt:
Position the weeded vinyl design on your t-shirt, plastic backing side up. Place a piece of parchment paper or a Teflon sheet over the vinyl to protect it during the heat transfer.
6. Press the Design:
If using an iron, press it down firmly over the design for 10-15 seconds at a time, moving across the design to ensure every part is heated evenly. If using a heat press, close the press and follow the manufacturer’s timing guidelines.
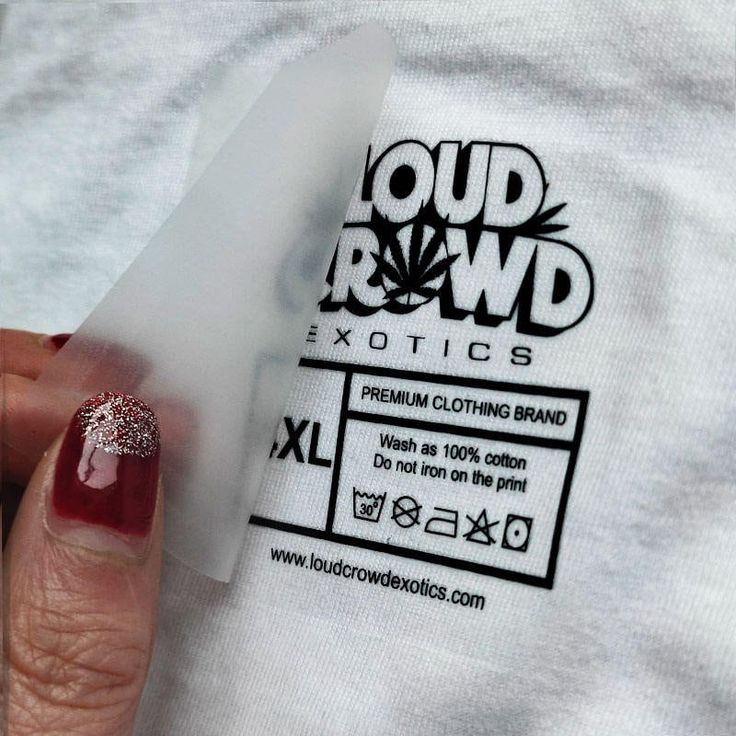
7. Peel Off the Backing:
Allow the design to cool for a few moments, then carefully peel off the plastic backing. If the vinyl hasn’t fully adhered, replace the parchment paper and press it again.
8. Final Touches:
Give your new shirt one last press without the plastic backing for a few seconds to secure the vinyl. This ensures it melds well with the fabric and improves the durability of your design.
Tips for Success:
– Test First: Always test your heat settings and pressing time on a scrap piece of fabric or a less visible part of the t-shirt to ensure the vinyl adheres well without damaging the fabric.
– Care for Your Shirt: Wash your vinyl-printed t-shirts inside out on a gentle cycle with cold water and hang them to dry. Avoid ironing directly over the design to maintain its integrity.
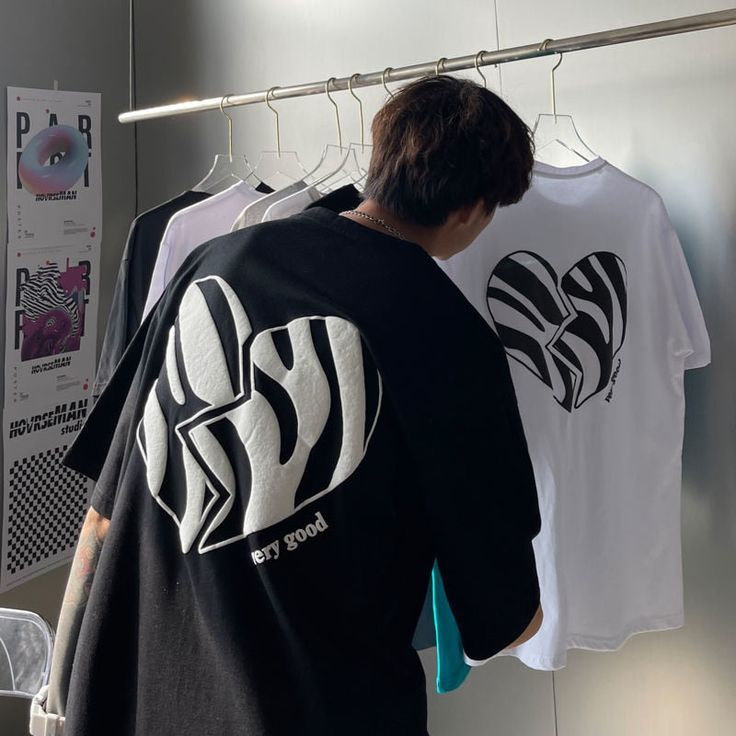
Heat transfer vinyl is a versatile and accessible tool that opens up a world of creativity. With a bit of practice, you can use HTV to create not just custom t-shirts, but also tote bags, pillows, and other fabric-based items, turning simple pieces into personalized works of art.