
Mastering the Art of Embroidery: A Comprehensive Guide
Embroidery is a timeless craft that allows you to add a personal touch to clothing, accessories, and home decor. Whether you’re a beginner or an experienced embroiderer, mastering the art of embroidery opens up a world of creative possibilities. In this comprehensive guide, we’ll walk you through the essential steps of embroidery, from basic stitches to custom designs and embellishing clothes.
How to Do Embroidery?

Embroidery is a versatile craft that can be done by hand or with the help of a sewing machine. If you’re going through a machine, there are a couple of things to keep in mind you wouldn’t have to if you’re planning to embroider by hand. One is making sure you know the stitch count for the design you’re planning to embroider. Thankfully, Blankstyle has a tool called the Embroidery Cost Estimator. Just upload your design and this tool will spit out how many stitches it’ll take to complete it. Additionally, you’ll have to digitize the file for your specific machine in order for it to stitch it. Otherwise, here’s a step-by-step guide to get you started:
1. Gather Your Supplies:
– Embroidery hoop
– Embroidery needles
– Embroidery floss or thread
– Fabric
– Scissors
– Design template (optional)
2. Prepare Your Fabric:
– Place your fabric in the embroidery hoop, ensuring it’s taut and wrinkle-free.
3. Choose Your Design:
– You can either freehand your design directly onto the fabric or use a design template. Transfer the design onto the fabric using a water-soluble pen or embroidery transfer paper.
4. Select Your Stitches:
– There are numerous embroidery stitches to choose from, including backstitch, satin stitch, and French knot. Start with basic stitches and gradually experiment with more complex ones as you gain confidence.
5. Thread Your Needle:
– Cut a length of embroidery floss and separate it into individual strands according to your desired thickness. Thread your needle with the desired number of strands and knot the end.
6. Begin Stitching:
– Follow your design template or freehand your stitches onto the fabric. Work slowly and carefully, ensuring each stitch is neat and uniform.
7. Finish Your Embroidery:
– Once you’ve completed your design, remove the fabric from the embroidery hoop and trim any excess threads. If necessary, press your embroidery with an iron to remove any wrinkles.
How to Do Custom Embroidery
Custom embroidery allows you to personalize your projects with unique designs and motifs. Here’s how to do embroidery, but with a custom design:
1. Choose Your Design:
– Decide on the design or motif you want to embroider. This could be a monogram, logo, or custom artwork.
2. Digitize Your Design:
– If you’re using a computerized embroidery machine, you’ll need to digitize your design using embroidery software. This process converts your design into a format that the machine can read.
3. Select Your Thread Colors:
– Choose thread colors that complement your design and fabric. Consider using a color chart to help you match colors accurately.
4. Set Up Your Machine:
– Thread your embroidery machine with the chosen thread colors and attach the embroidery hoop to the machine. There are many good starter embroidery machines, but brother typically makes the best.
5. Embroider Your Design:
– Load your digitized design onto the embroidery machine and select your desired settings. Start the machine and watch as it embroiders your design onto the fabric.
6. Finish Your Custom Embroidery:
– Once the embroidery is complete, remove the fabric from the machine and trim any loose threads. Press the embroidery with an iron to smooth out any wrinkles.
How to Do Embroidery on Clothes

Embroidering clothes is a fun and creative way to customize your wardrobe. Here’s how to do embroidery, but on clothes specifically instead of hats or other non-traditional garments:
1. Choose Your Garment:
– Select a garment made from a fabric that’s suitable for embroidery, such as cotton or denim.
2. Prepare Your Garment:
– Place your garment in the embroidery hoop, making sure it’s taut and wrinkle-free. If necessary, stabilize the fabric with embroidery stabilizer to prevent stretching or puckering.
3. Select Your Design:
– Choose a design that complements the style and size of your garment. Consider the placement of the design on the garment and how it will look when worn.
4. Transfer Your Design:
– Transfer your design onto the garment using a water-soluble pen or embroidery transfer paper. Alternatively, you can freehand your design directly onto the fabric.
5. Stitch Your Design:
– Follow the same steps for stitching your design as outlined in the “How to Do Embroidery?” section above. Be mindful of the fabric and adjust your stitches accordingly to ensure they lay flat and uniform.
6. Finish Your Embroidered Garment:
– Once you’ve completed your embroidery, remove the garment from the hoop and trim any excess threads. If necessary, press the embroidery with an iron to remove any wrinkles.
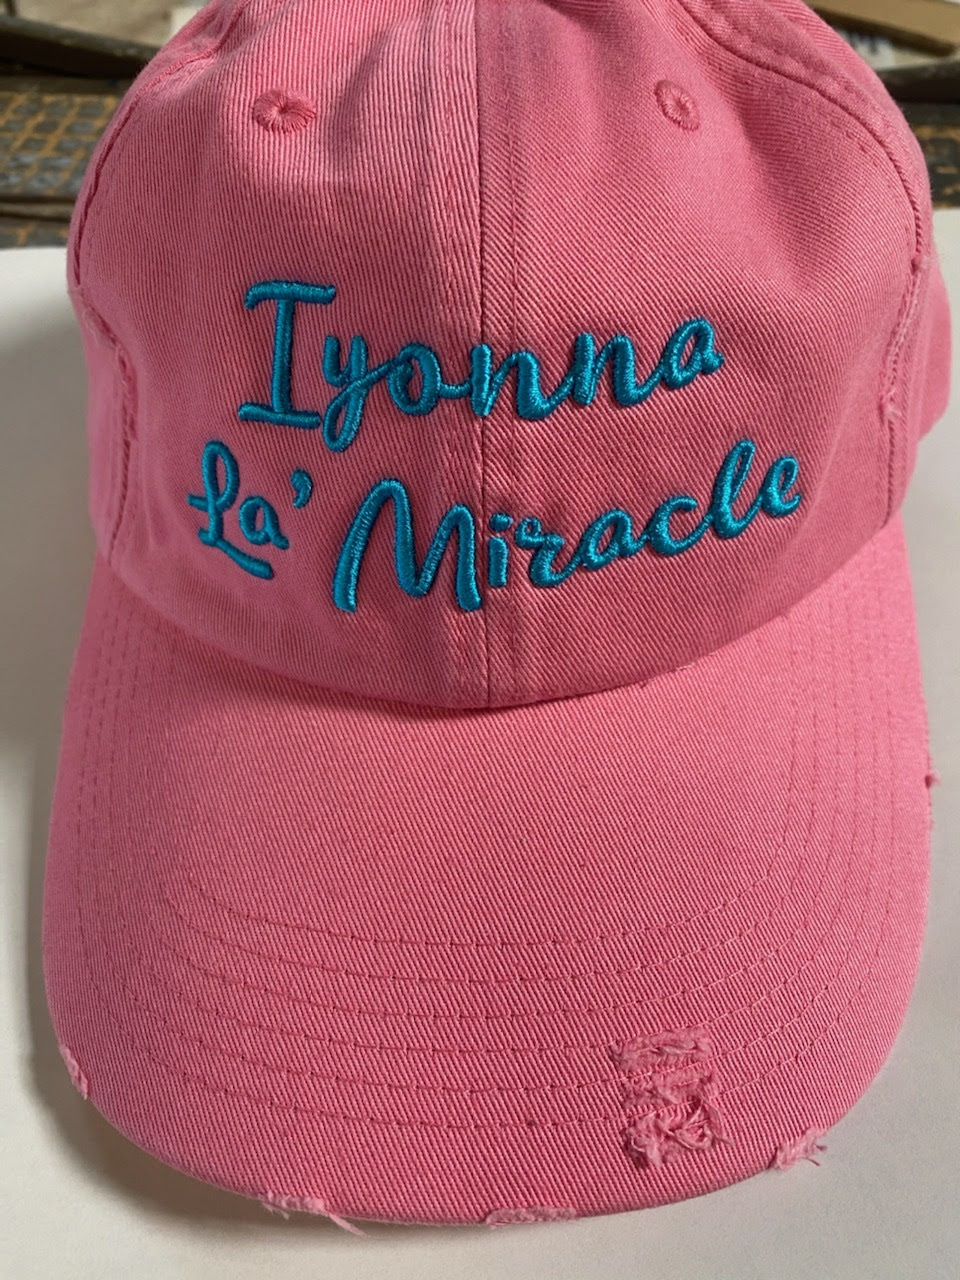
How to do Embroidery? Well, it’s simple!
![]()
Embroidery is a versatile and rewarding craft that allows you to express your creativity and add a personal touch to your projects. If you can’t tell by now, there’s many different ways to do embroidery. Now, if you don’t want to do the embroidery yourself, Blankstyle offers embroidery services. That way you can just upload your artwork and pick out your garments and just receive a fully embroidered garment. If you’re looking Whether you’re embroidering by hand or with a machine, the key is to practice and experiment with different stitches, designs, and techniques to hone your skills and create beautiful embroidery pieces.