

Customized apparel has carved its niche as a potent tool in branding, promotions, and personal expression. A thought, a design, a doodle can all take life when imprinted on fabric. But how does a simple sketch transform into a tangible, wearable piece of art? Let’s venture into the world of Blankstyle and uncover the fascinating journey of a design from a mere concept to a finished product.
Step 1: The Blueprint of Creativity – Designing
The journey begins with a design concept. Whether it’s an intricate illustration, a simple logo, or a catchy slogan, the idea should align with the intended message or the essence of a brand. The design acts as a brand’s voice, a whisper to its audience, so it’s essential to craft it with precision, ensuring it’s versatile and compatible with varying shirt colors. If designing isn’t your forte, collaborating with a professional designer can make all the difference, ensuring your vision is meticulously articulated.
Step 2: Mapping the Quantity & Budget
Before diving deep into the production process, it’s essential to delineate the quantity and budget. For wholesalers, buying in bulk is cost-efficient. However, it’s crucial to break down the sizes, remembering to provide an inclusive size range. The final quantity impacts the chosen printing technique, with some methods being more economical for bulk orders.
Step 3: Selecting the Perfect Printing Technique
Depending on the design intricacy, color palette, and budget, one must select the optimal printing method:
- Screen Printing: The go-to for bulk orders. Each color demands a unique screen, making it ideal for designs with limited colors.
- Vinyl Graphics: Perfect for simple, bold graphics, especially for smaller batches.
- Direct-to-Garment (DTG): Suitable for designs bursting with details and colors but is more aligned with smaller orders.
Step 4: Finding the Right Printing Partner
A harmonious collaboration with the right printer is paramount. At Blankstyle, we champion quality and consistency. When you entrust us with your design, we ensure it’s impeccably translated onto fabric. By either visiting us or exploring online, you can gauge our commitment to excellence, ensuring you’re aligning with a printer that values your vision.
Step 5: Fabric Selection & Shirt Type
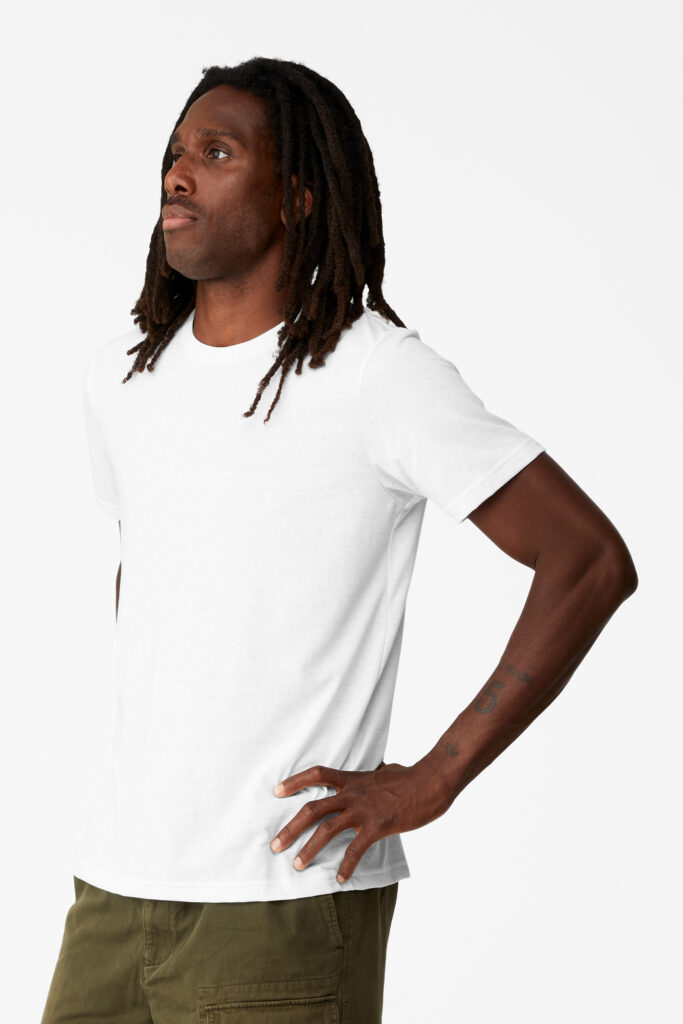
Comfort is paramount. The choice of fabric can significantly impact the final product’s feel and durability. While 100% cotton remains a classic, blends offer versatility in texture and cost. Beyond fabric, the shirt’s cut and style should reflect the target audience’s preferences. Whether it’s a V-neck, crew-neck, or a tank top, the style should resonate with the intended wearers. Pictured to the left is our Gildan 2000 Ultra Cotton T-Shirt G200.
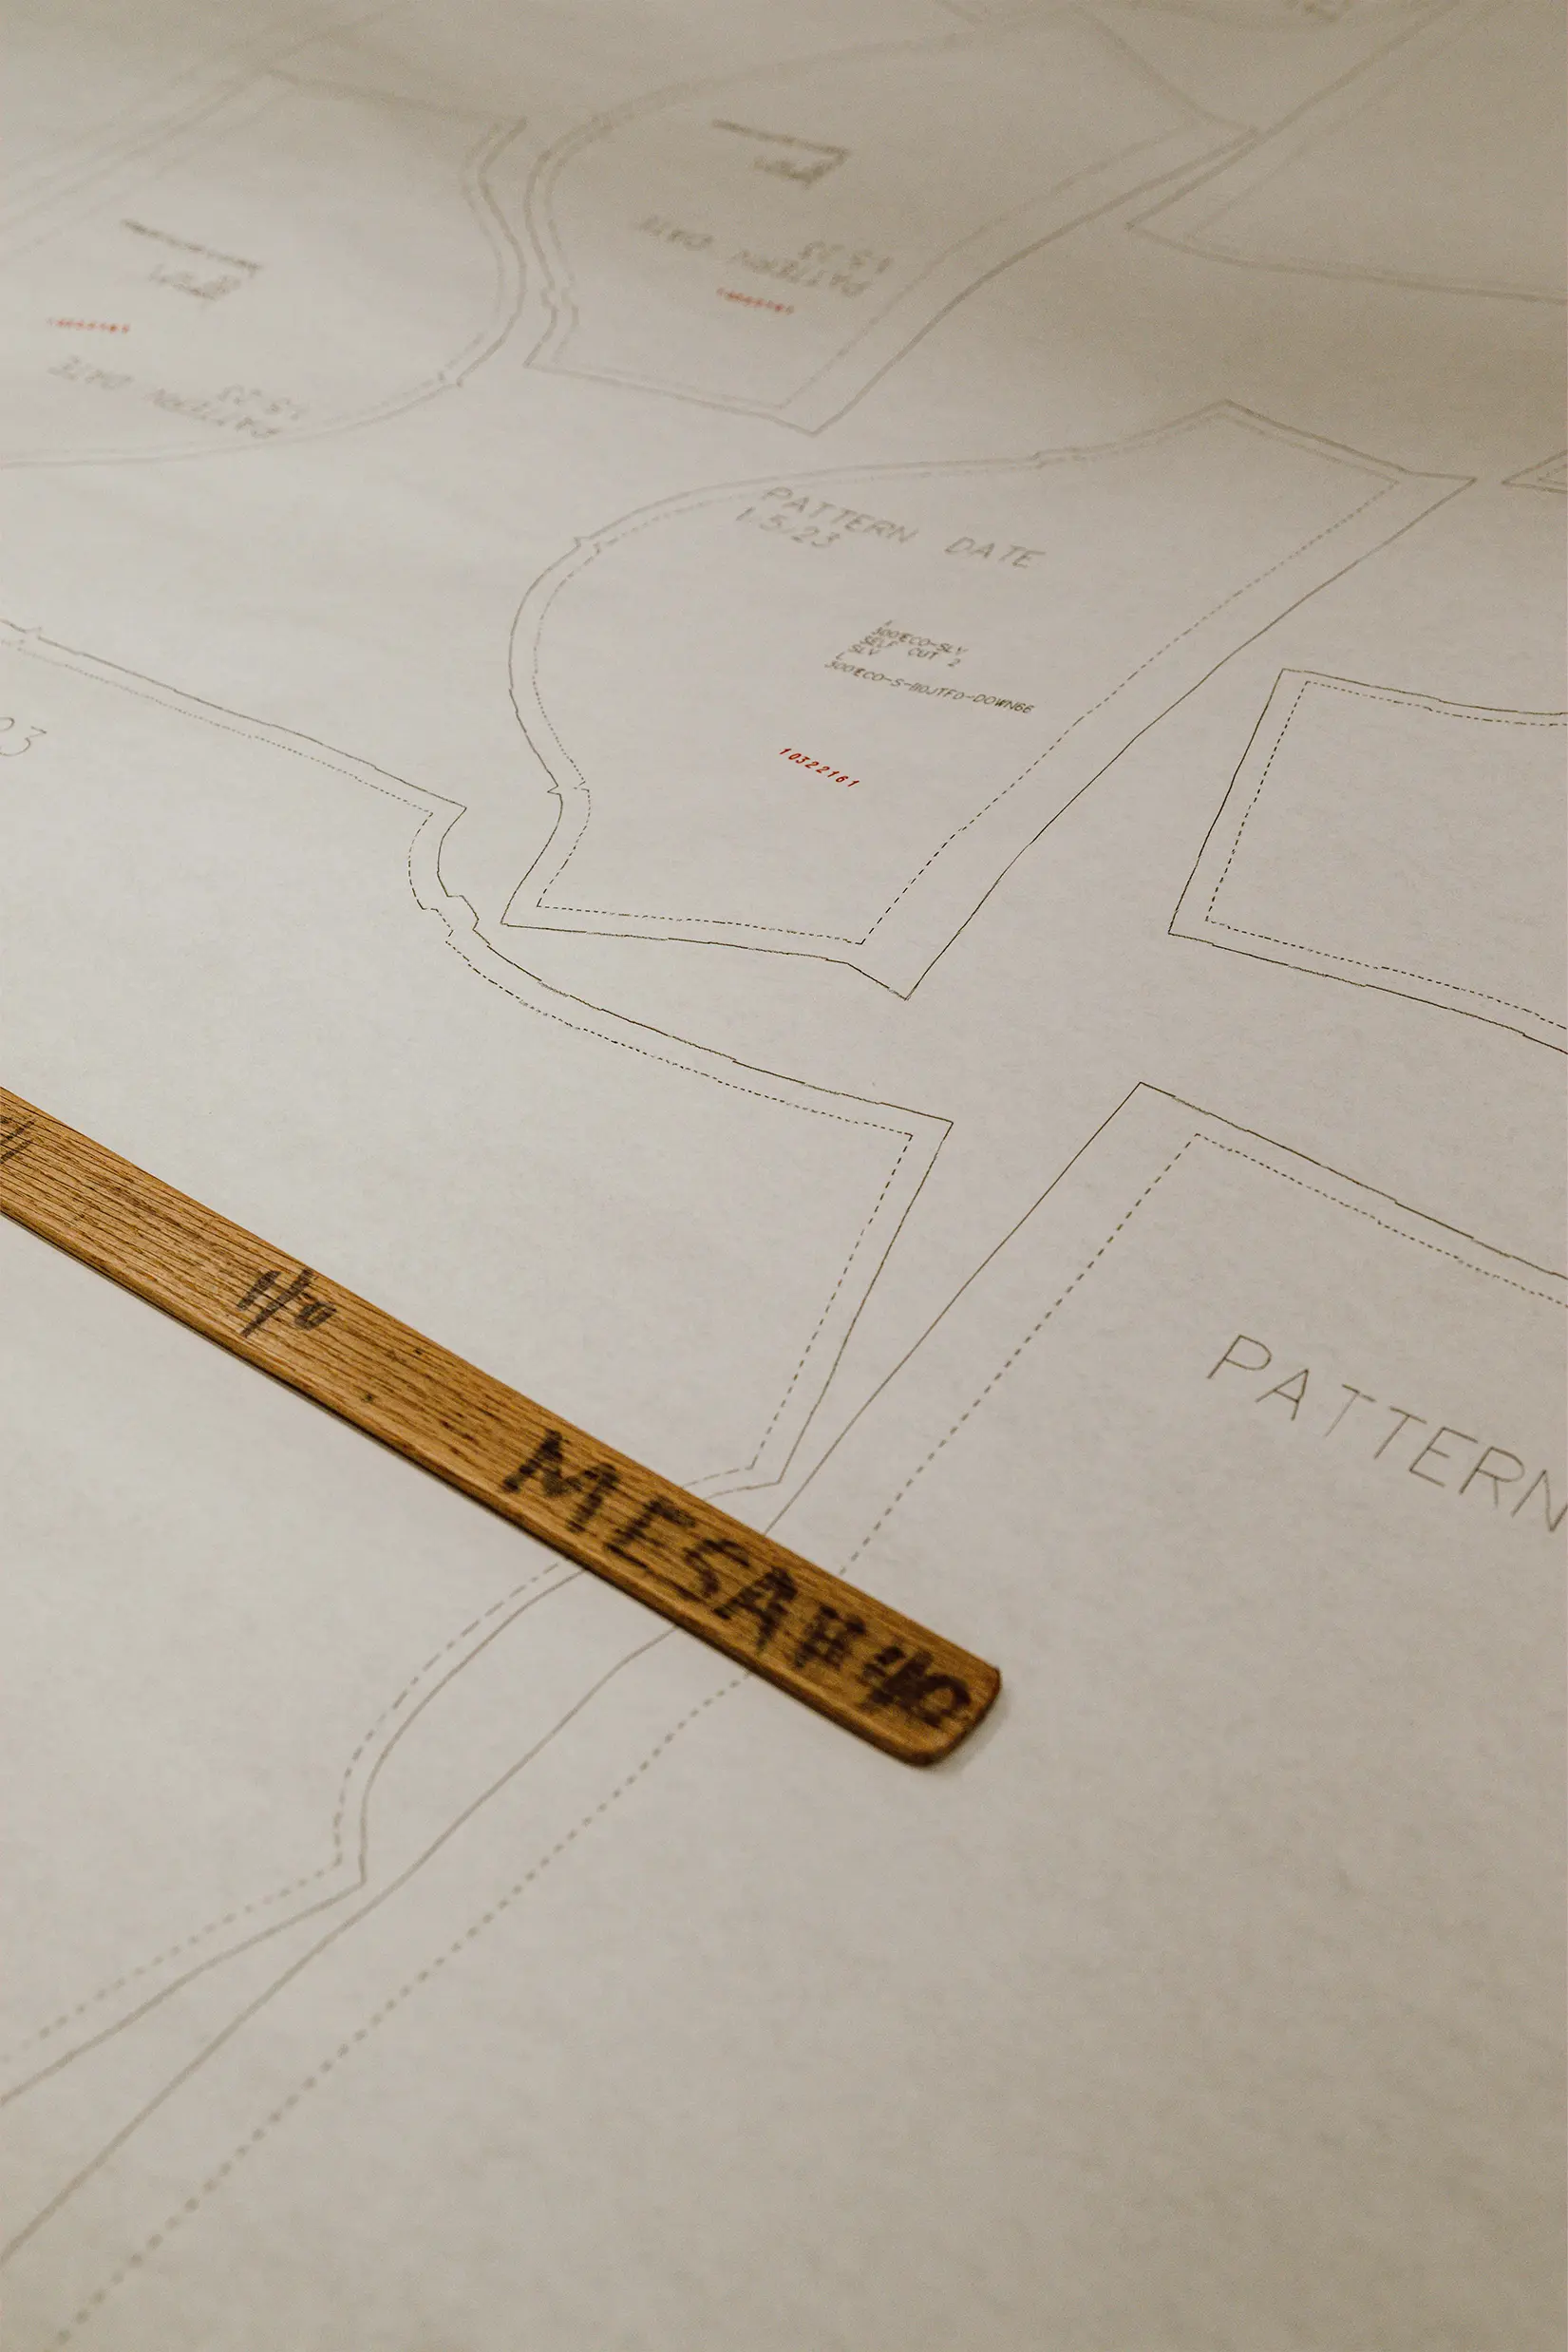
Step 6: Design File Submission
Once the design is finalized, it’s time to hand over the baton to us. Submit your design files, ensuring they’re in the right format (preferably vector), allowing for precision in translation from digital to fabric. Find more information on how to do that with us right on our decoration info page
Step 7: Proofing for Perfection
Before the mass printing begins, we at Blankstyle believe in getting a nod of approval. A digital proof is shared to ensure the design sits perfectly, capturing every nuance.
Step 8: The Final Transformation
Once the proofs are approved, the production wheels start churning. The design takes life, imprinting itself on fabric, ready to narrate its story. Once printed, each piece undergoes a thorough quality check, ensuring it mirrors the approved design.
The Grand Finale
With Blankstyle, the journey from a sketch to a shirt is an amalgamation of meticulous planning, artistry, and commitment to quality. As you unbox the finished shirts, you’re not just looking at fabric and ink; you’re holding a tangible manifestation of a vision, ready to resonate with its audience.
Dive into the realm of customized apparel with us, and let’s transform sketches into stories, together.