Sublimation Apparel Printing: The Basics for 2022

Epson-sure-color-sc-F6070

Sublimation Apparel printing:

Just when think you’ve covered all your printing bases — screenprinting, DTG — someone asks you about sublimation apparel printing. You might not know what it’s called, but you can’t walk into a retailer without seeing an example of it. It’s a printing method that provides all-over coverage, in full color.

In a nutshell, sublimation printing uses heat to transfer the dyes onto the fabrics. There are two ways to do this: one is to print onto a transfer paper and then transfer the image to the fabric using heat and pressure. The second involves printing the image directly onto the fabric. But either way, you’re looking at transferring the dyes into the polyester molecules using a combination of time, temperature, and pressure. With dye sublimation, the result is a virtually permanent full-color high-resolution print that won’t crack, fade or peel under normal conditions. If you’re looking for color saturation, you’re looking for dye sublimation printing.

Unlike screen printing, where one color is added at a time, with sublimation printing, all colors are printed at the same time so there’s no risk of the colors not lining up or running. And as we may have mentioned, sublimation printing is the only way to go, if you’re trying to get that all-over printed look.

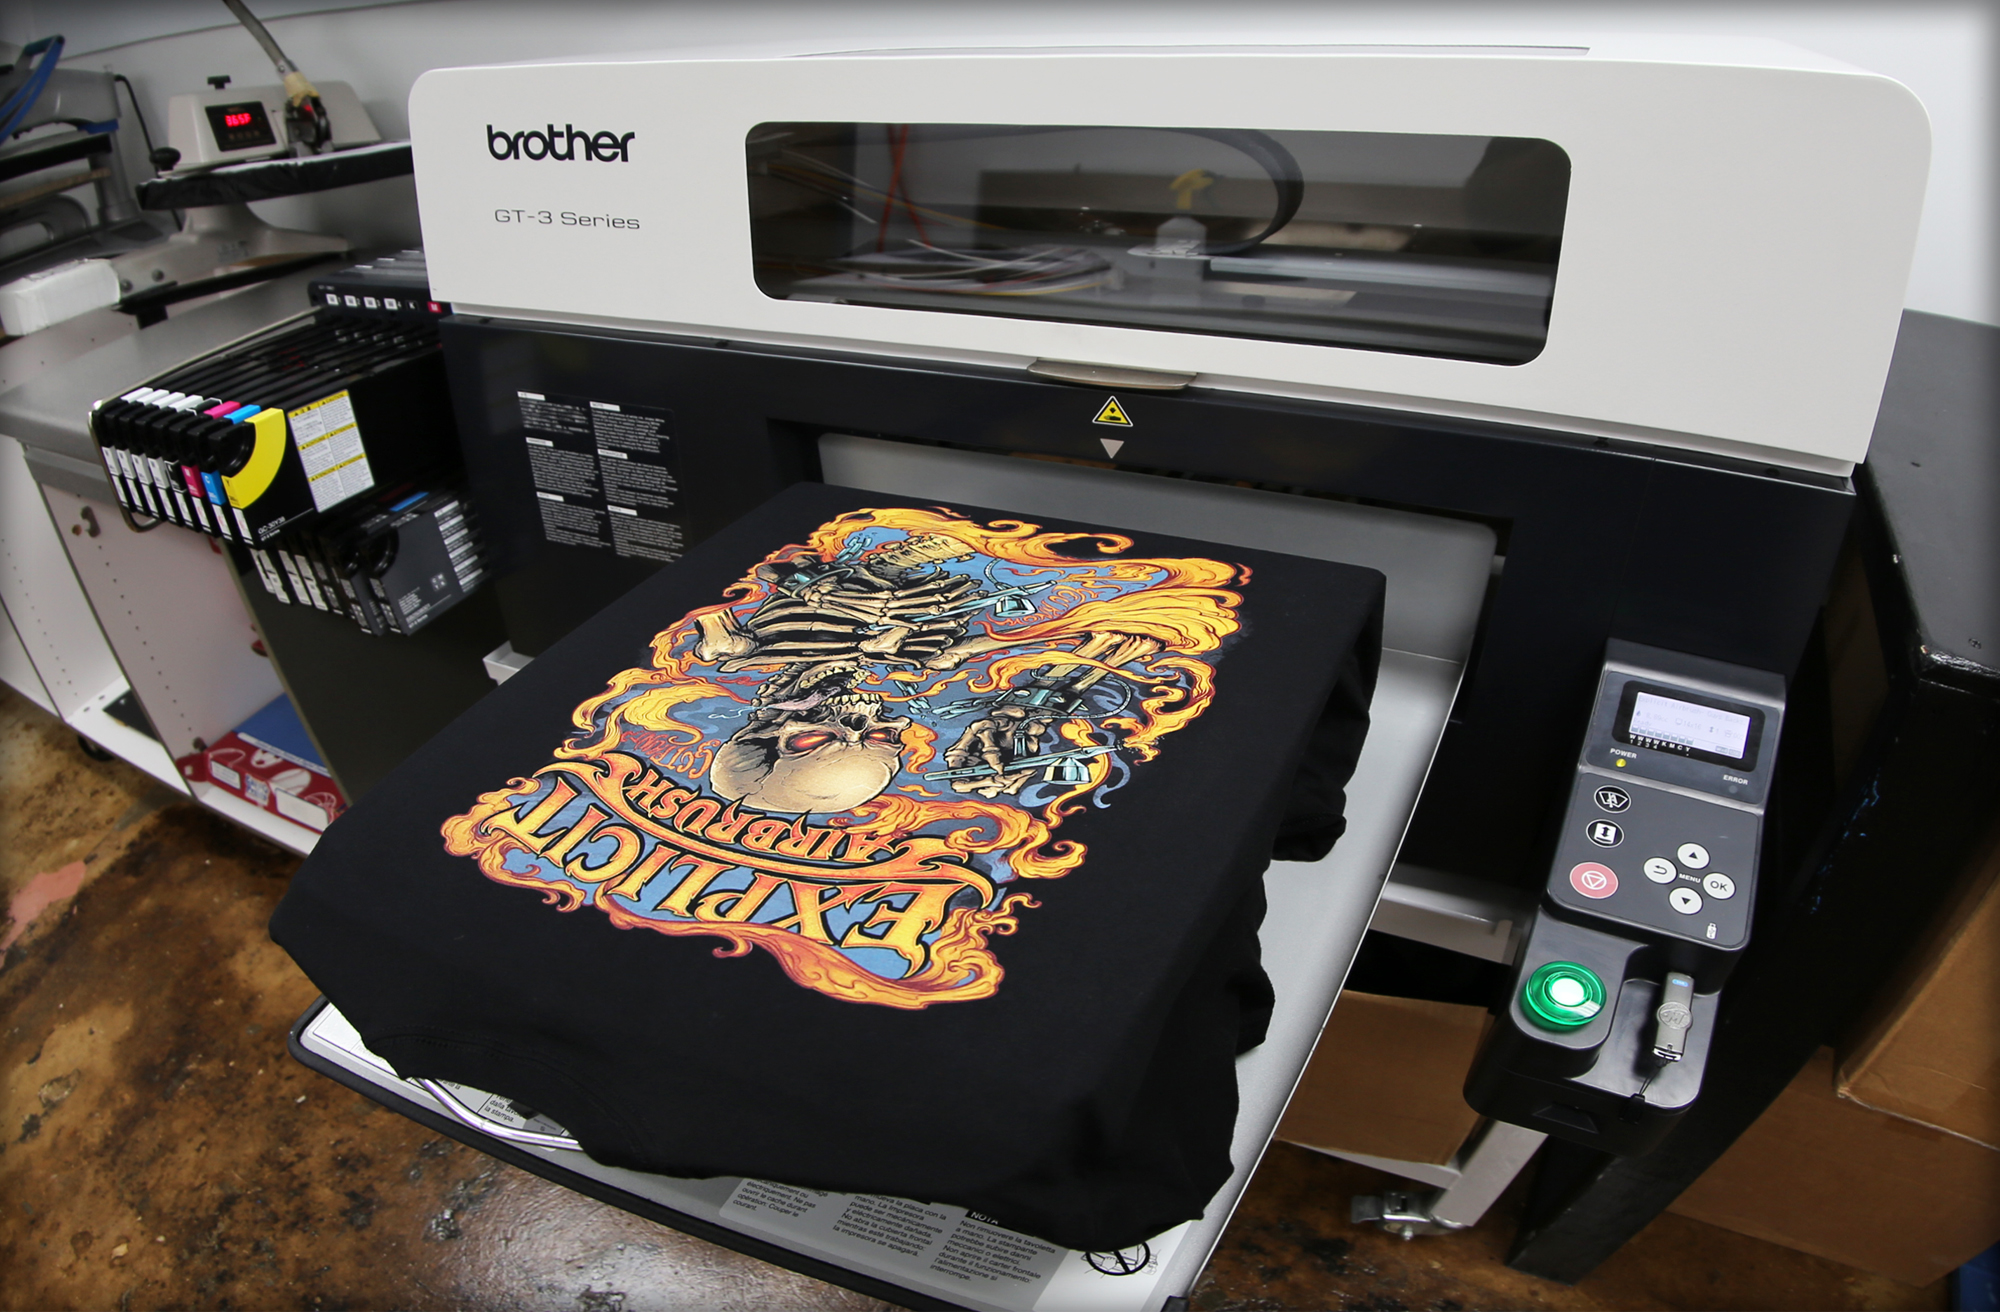
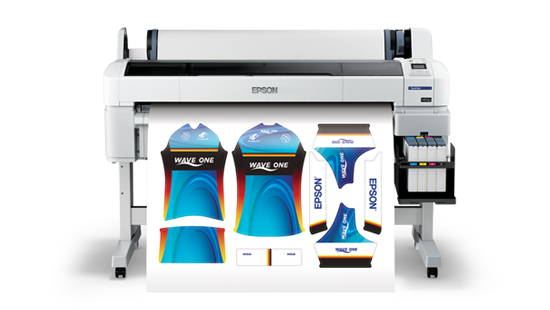
Image above: Epson SureColor® F6070

Jessica_Chastain_78

Offset vs. Digital Sublimation Printing

There are two types of sublimation apparel printing: Offset and Digital. The differences between the two can be simplified to a single word: volume. Offset sublimation requires a pretty hefty investment – the machinery alone can cost up to $1 million and you’re looking to do print runs of between 5,000 – 10,000. So if you don’t have a cool million hanging around, and you’re hoping for a print run under 500 pieces, then you’re looking at digital sublimation, which will give the saturated all-over print look, without having to invest quite as much capital.

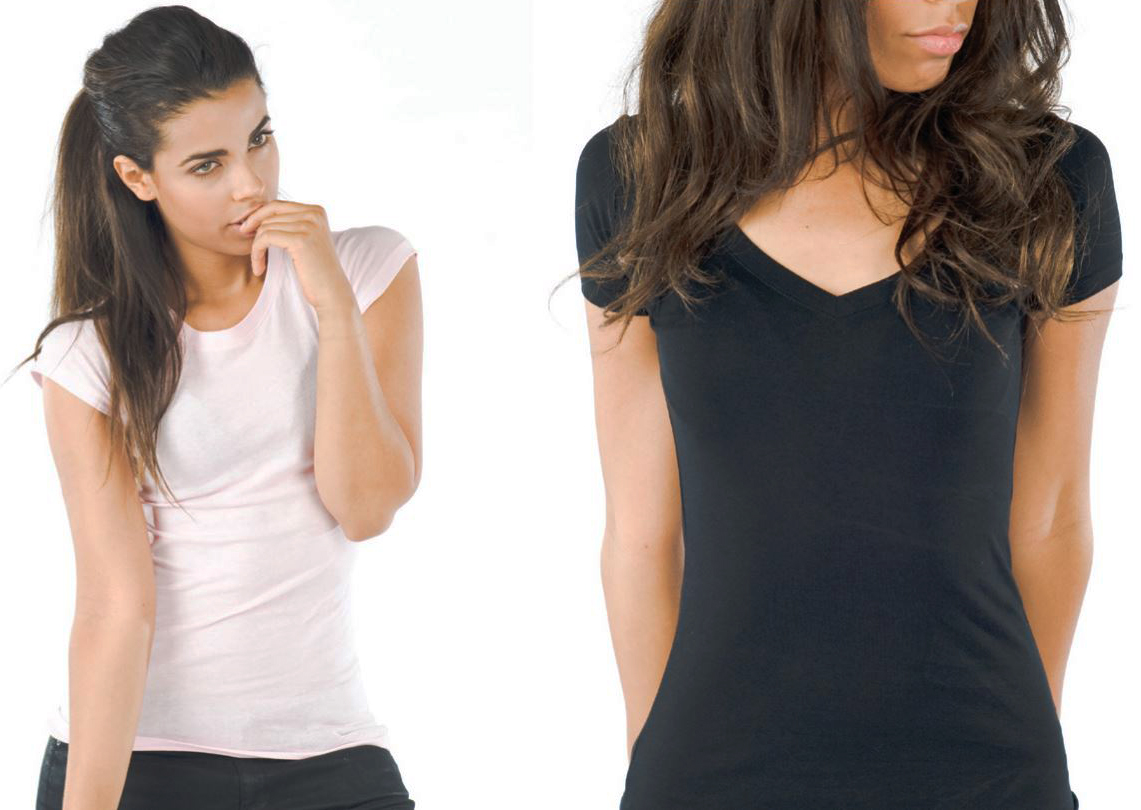
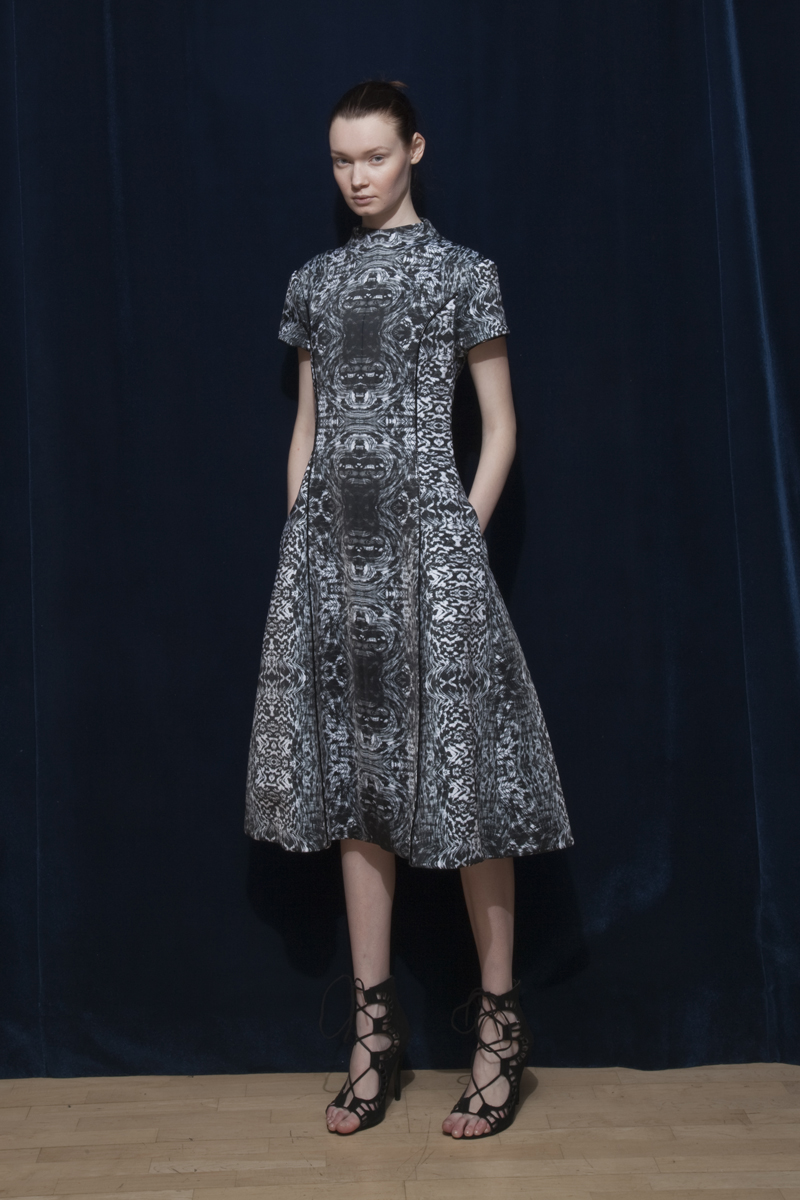
Image above: from Epson’s Digital Sublimation fashion show

1910 SubliVie Adult Polyester Sublimation T-Shirt Catalog

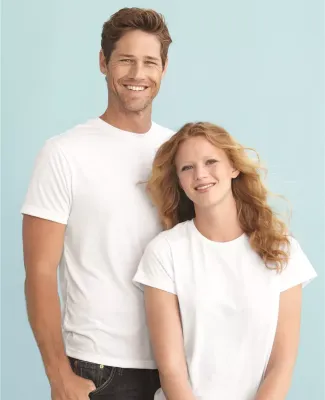
Image above: SubliVie 1910 Adult Polyester Sublimation T-Shirt is soft, lightweight, and is quite literally, made for sublimation.

Direct to Garment Printing (DTG) vs Sublimation

While both DTG and digital sublimation use inkjet printer technology, the processes and results are quite different. The first big difference you’ll notice between DTG and sublimation is going to be your garment choice. DTG is the choice for 100% cotton fabrics, while Sublimation only works on polyester garments (sublimation needs a polymer-based surface). Both processes will work on blended fabrics, but the result will be a little washed out and faded.

But that’s only the beginning. The entire chemistry behind the two processes is different. I’ll spare you the Chem 101, but basically, the DTG process is relying on surface adhesion, while with sublimation, there is actual molecular bonding taking place. (The dye actually begins as gas before becoming a solid!)

Sublimation Apparel Printing Perks

Blog3_BotanicalDs

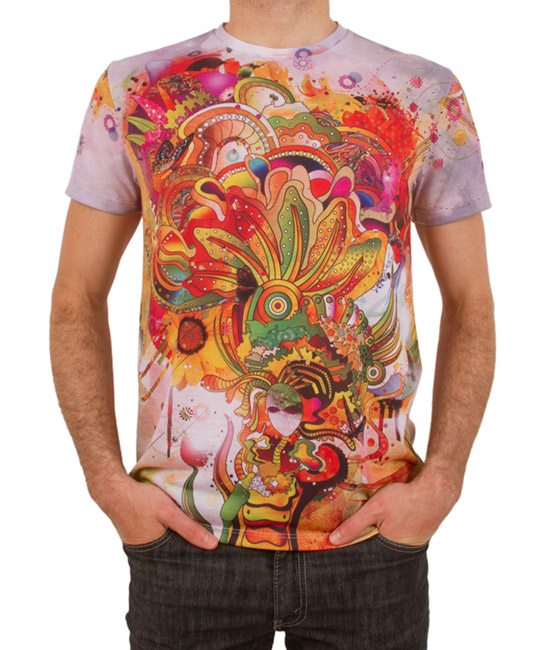
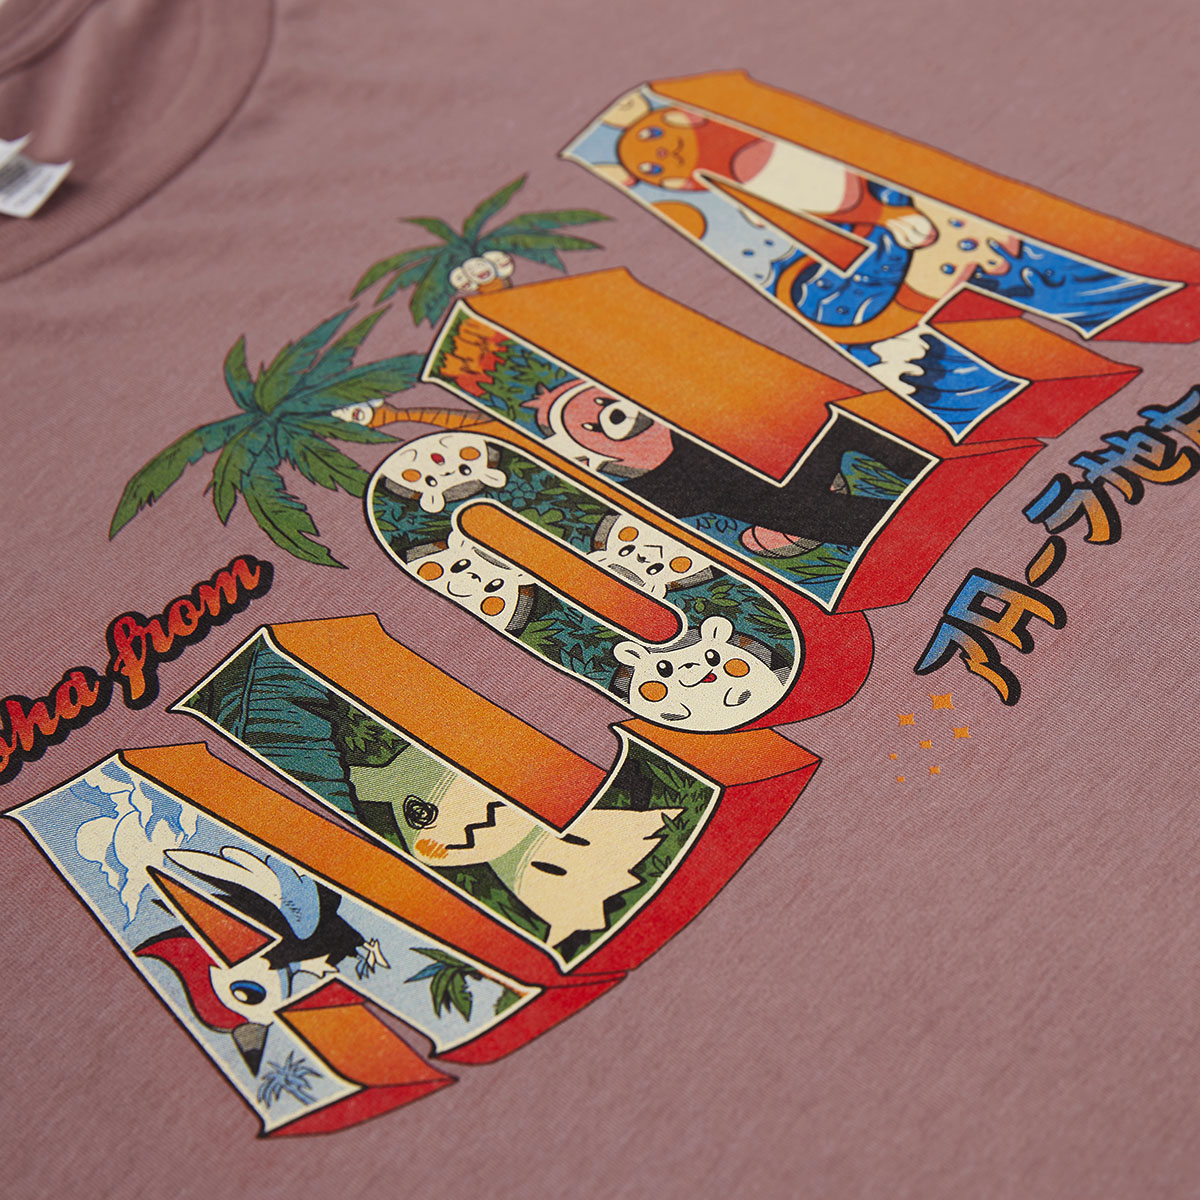
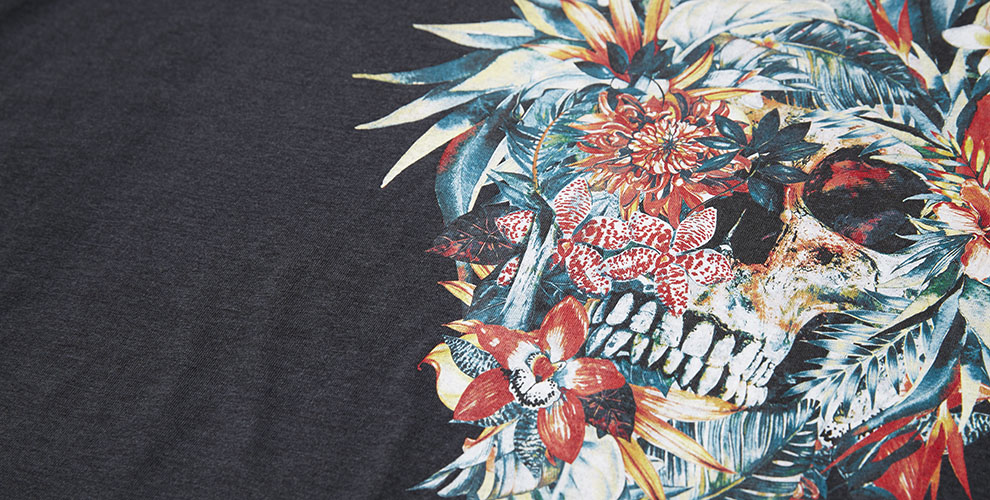
  • You can print a highly detailed photographic image on nearly any polyester fabric.
  • You can print on textiles prior to the assembly of the garment for all-over coverage
  • Many polyester fabrics provide moisture-wicking capabilities making your garment perfect for high-performance sports ware.
  • There is no feel, which makes for a soft hand.
  • Perfect for full-color design on light textiles
  • Extensive color options

L1610 SubliVie Juniors Polyester Sublimation T-Shirt Catalog

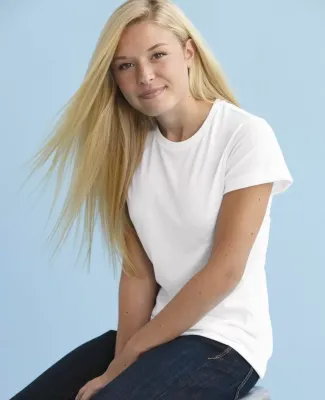
Image above: SubliVie L1610 Juniors Polyester Sublimation T-Shirt is perfect for sublimation apparel printing

When you’re ready to take a leap into the world of sublimation apparel printing, check out our sublimation apparel category. If you don’t see what you are looking for, let us know. And we’ll help you get started on your sublimation journey!

What is Screen Printing? What You Need to Know in 2022

What is screen printing? As you might guess, given the obvious hint built into the name, screen printing is a printmaking technique where stencils are laid over a screen. That screen is usually made of cotton, nylon, or metal. The printing ink is then pushed through the screen using a rubber squeegee. That’s the simplified version, but every little step can involve lots of decisions from what ink to use to the best squeegee.

OLYMPUS DIGITAL CAMERA
Image above: a screen printing class at the Alexandria Museum of Art

Just a little history
The basic process is thought to have been invented in China and then refined in Japan (makers of good things like karaoke, the novel, and instant ramen). After 1915, when it became possible to photo-screen print (introducing photo stencils), the technique took off in the commercial sector in the United States. Grocery stores and other shops needed quickly produced locally made signs to advertise sales, and screen printers were able to underbid sign painters and win jobs. For years, those screen printing techniques were closely guarded trade secrets. Then in the 1960s, the technique took off in the art world amongst pop artists like Andy Warhol, Roy Lichtenstein, and Richard Hamilton. From there, screen printing entered the mainstream. These days, screen printing has been enthusiastically adopted by the DIY community.  And now that the information for how to set up a screen printing studio is so readily available online – anyone, with an idea,  can screen print.

diy-print-shop-screenprinting-kit
Image above: DIY Print Shop

Screen printing Setups
One of the reasons that screen printing is so popular is that it is infinitely scalable. You can create a setup for under $40 or spend $40,000. Every setup might be a little different, but the basic elements are a screen, emulsion, artwork, a squeegee, ink, a light source, and a water source. If you’re eager to get your hands dirty, this is a great screen printing guide from one of our favorite reads, LifeHacker. (But if you’d rather us do the dirty work, we’re happy to mess around with the ink for you.)

40312-group3ww-l
Image above: jacquard screen printing inks
Decision, Decisions, Decisions aka Screen Printing Ink

Underbase
The first consideration in design is often the underbase. One of the most important choices in determining how your design turns out, regardless of the ink type is whether or not an underbase is used. Think of an underbase like a primer coat. if you wanted to paint a red wall blue you would first prime the wall with a neutral color like gray or white, You would then paint blue over the primer. If you were to paint blue over the red wall without priming you would end up with a purple not a blue.Underbase

Underbasing in t-shirt printing, much like priming in painting is a great way to ensure your design ends up being the color you intended it to be. An underbase is essentially the entirety of your design printed in neutral ink. In this way regardless of the garment color or makeup the colors in your finished design should remain consistent. This is especially true when printing bright colors over darker colors. This is also true when your intention is to have a consistent-looking design printed on different material makeups and colors. There are a few negatives to consider when choosing to underbase. Because there is an additional underlay or undercoat of ink, the design will feel thicker to the touch. In addition, underbasing requires additional screens adding cost. Printers typically charge around $30 to $40 dollars per screen.

In a nutshell, if you are printing on lighter uniformly colored garments and the most important component of your finished design is its soft feel where color consistency takes a back seat, you should not be underbasing however if you are printing on dark or various colored garments and need a consistent design color where soft feel is the less important of the two, you should be underbasing. Often times printers will help you make this decision based on the garments you’ve chosen and the colors in your design.

Ink types
Once you’ve decided on your shirt (and that’s a whole other conversation), the most important consideration is going to be your ink.

The traditional ink is plastisol ink. This creates a thick print that rests on top of the shirt. Plastisol inks can provide a higher contrast than water-based ink, and if you’d like your fwd_traditional_printingprinted design to appear bright and color accurate, then a plastisol ink can give you that effect. Plastisol ink is a good choice if you’re printing sporting goods, nylon, or dark-colored clothing. Plastisol ink is also the most consistTower-Tee1ent choice when printing the same design on different garment styles and or colors.

If you’re looking to make a super soft shirt then water-based ink is where it’s at. Whereas the plastisol ink rests on top of the shirt, water-based ink is actually directly dying, or in the case of discharge, bleaching the fabric’s fibers, which means that the printed portion of the shirt will remain softer than plastisol the print further softens to almost a no feel with one washing.  An added plus is that water-based ink is eco-friendly. Water-based inks don’t have that same high contrast that plastisol inks have so the effect often feels vintage. Waterbase ink typically work out best when the design has a limited color spectrum as water base inks are not vibrant like plastisol inks. Creative designers typically use the garment color to bring out accents in the design.

But there is a middle ground between plastisol and water-based – soft plastisol or soft-hand plastisol gives you the contrast of a plastisol ink but is much softer than the straight-up plastisol ink. Soft hand plastisol is accomplished by using thinning agents and high mesh count screens minimizing and thinning the amount of ink allowed to pass through the screen to the garment.

But what if you want a more custom look? There are an infinite number of special effects inks. Here are a few of our favorites and the ones that we print with here at Blankstyle.com.

Puff ink is the screen printer’s version of that ‘80s craft favorite – puff paint. Puff ink is created by mixing an additive with the plastisol inks so that your ink will puff up after it dries giving your design a textured effect. (We like to use it to give your designs a faux stitching effect.)

So that’s the quick run-down on what screen printing is and how it’s done. Of course, the more you dig around, the more questions you might have. We’re here to help with any of those.

And if you prefer to get your information the old-fashioned way, here are some great resources:
Print Liberation: The Screen Printing Primer
Simple Screenprinting: Basic Techniques & Creative Projects
ulled: A Catalog of Screen Printing (great for inspiration)


Amy on Google+

What is DTG Printing: When, Why, and How in 2022

What is DTG Printing? Short for Direct-to-Garment, DTG printing is a method of printing designs directly onto t-shirts and textiles using a modified ink printer.

Custom DTG Printing

Brother DTG Printer

Direct to Garment printing is a direct descendant of inkjet printing. That means no screens, no mess, no thick plastisol ink–yet great detail and stunning color possibilities. How it works is a t-shirt is loaded onto the machine, and your design is printed directly onto the shirt using specially formulated water-based inks. The design is then heat set using either a heat press or a tunnel dryer. In the same way that your inkjet printer can print extremely detailed images, a DTG printer is able to produce photo-quality images on shirts that still have a soft feel.

Custom DTG Printing

No color limitations with DTG Printing means you can print what you want without the price going up. Photo courtesy of Behind the Blank

Sounds great, right? Well, Direct to Garment printing does have its limitations. Specialized ink means it’ll end up costing a little more. It’s also a lot slower than screen printing (think of standing in front of an inkjet printer and waiting for a piece of paper to come out), so labor costs are higher as well. And the printable area is a little smaller, too.

So with so many factors to consider, the real question is when to use Direct to Garment and when to screen print. The basic formula is if you’re printing a multi-colored and detailed design with less than 50 shirts, Direct to Garment is the more efficient and cost-effective choice. Once you start hitting quantities over 50, then screen printing becomes the faster and cheaper option. DTG is also the go-to option if you’re looking to print a photo-realistic image.

Custom DTG Printing

Print your illustrations right onto a shirt with DTG Printing

When printing DTG, the fabric content of the garment is by far going to be the main factor to consider when choosing which shirts to use. Lots of printers insist on going with only 100% cotton (like the Cotton Heritage MC1040 and the gildan 5000 ). We recommend going a step further and choosing ringspun cotton (like the Next Level 3600 or Tultex 290), which is much softer and smoother–and thus prints better. You could also choose an organic cotton shirt, which is great for marketing.

In general, screen printing is going to be a better choice for blended t-shirts if you’re looking for vibrant colors. This is because DTG Inks are best absorbed by 100% cotton, and the color won’t take as well to man-made fibers. However, if you’re looking for more of a subdued print with vintage-style faded colors, DTG could be the perfect choice for your design. White blended shirts print very well, but if you’re using anything other than that we suggest consulting with one of our print reps to be sure there won’t be any issues.

Next step–generating your custom DTG print quoteblankstyle.com is your one-stop shop for all of your blank and printed apparel needs!

Amy on Google+

Embroidery: Customization for Everything

Panther-Detail

As much as we love our t-shirts, even we Southern Californians have to admit there are some occasions where short-sleeve cotton isn’t going to pass muster. But just because you’re dressing up, you don’t have to forgo customization. When you’re looking to personalize items other than t-shirts (polos, bags, button-downs, hats), your best option is to consider an embroidery quote.

Image above: the Barudan Embroidery Machine at Embroidery Classics Calgary Alberta

closeup_bone needle

Unlike the majority of customization methods that rely on applying ink to textiles, with embroidery, you simply sew the logo or design of your choice onto anything from baseball caps to golf shirts and jackets. And this isn’t a new concept. In fact, needlework can be traced all the back to the earliest human civilizations when prehistoric bone needles would be used to sew together skins and furs in order to make clothes, shoes, tents and blankets. Since then, elaborate and intricately embroidered textiles have been a sign of wealth and status in many cultures including ancient Persia, India, China, Japan and Europe. The difficulty and in modern times the cost of completing an embroidered design has always been measured in the number of stitches required. Blankstyle has a handy stitch count estimator that will allow you to compare designs for number of stitches required to complete and help with budgeting.

Image above: Bone Needle with yucca thread from the American Southwest Virtual Museum

punchtapeFor thousands of years, all embroidery was handwork, until in 1828 (before the invention of the sewing machine!) Josue Heilmann in France invented small hand embroidery machine. He wasn’t able to make a go of the business side of things, but his invention inspired numerous others to create and sell similar machines.

It would be another 150 years before the next embroidery revolution took place in 1980, with the invention of the first computerized embroidery machine. Prior to modern computers, most machine embroidery was completed by punching designs on a paper tape or group of cards that ran through the machine. But this modern machine utilized a design that had been pre-programed by the computer into the sewing machine.

Image above: An early punch-card embroidery machine at the German Museum of Technology

pl3200205-flat_bed_towel_single_head_embroidery_machine_digital_commercial_embroidery_equipment
These days it’s all about the software. Contemporary embroidery is created using a computerized embroidery machine that translates the design into a digitized embroidery pattern. The machine holds the fabric taut using a hoop and the pattern is then applied to the textile using different types of fills to add texture and design to the finished piece. You can apply embroidery decoration to nearly every type of fabric.

Image above: Ricoma Embroidery Machine

Cotton Heritage: A Lesson in Entrepreneurship

cotton-heritage-77790729

Some people seem to have entrepreneurship in their blood. Neeraj “Mickey” Sachdeva, CEO and founder of Cotton Heritage came by both his entrepreneurial sense and his understanding of textiles honestly.

The Sachdeva family has a strong tradition of working with textiles. Mickey was actually raised in a city, which is considered to be the capital of the knitwear garment industry in North India. And the family business, Roochi Traders, a leading distributor of sportswear and active wear, was founded by Mickey’s father, Vishwa Sachdeva, back in 1982, the year that the Sachdeva family came to the United States.

In a true immigrant success story, Vishwa landed in the US with only $25 in his pocket, and looked to textiles to help provide a living for the family. He started importing fabrics from Japan with the help of some relatives. Then in 1986, when the Japanese yen turned strong, and it was no longer profitable to import from Japan, Vishwa began selling garments to Indian shops in the Los Angeles area. It was a true family business. Mickey’s mother, Prem, would sew from 6 AM to midnight every day, making the clothes that Vishwa would later sell.  Both Mickey and his brother, Vikram (Vik), helped out with the family business when they weren’t busy with schoolwork.

hoodies

Mickey was only 14 when the family left India and moved to California, but it didn’t take him long before he jumped straight into American commerce.  First, he took on a newspaper route. Then he got a job washing recreational vehicles. He flipped hamburgers at Wendy’s, and worked as a cashier at Knott’s Berry Farm. He got a job at a General Motors plant and then as a bank teller. He was just a teenager, but Mickey already had had more jobs than most people twice his age. Mickey says that initial work experience was critical to his later success. “It gave me an insight into a lot of different things,” says Mickey. “How to deal with people, how to handle money, how businesses work.”

By 11th grade, Mickey, was anxious to take the jump from working for others to working for himself and so he began pressuring his father to let him take on a bigger role in the family clothing business. “But my dad, a typically Indian father, wanted me to concentrate on my education first,” says Mickey. “I was very persistent and told him I would bug him every day about it. So Mickey was put to the test.  He was dropped off at the Los Angeles flea market with a box of 24 dozen undergarments and told to sell them. Only seventeen, Mickey wasn’t given any instructions about how to make the sales, but he still managed to sell nearly all of the undergarments in the box, and the experience only whetted his appetite for more.

While enrolling in college, Mickey started selling garments out of the family garage. That small business grew and grew until finally a neighborhood complained about the large trucks showing up to the Sachdeva residence on nearly a daily basis. Instead of being defeated, the push out of the family garage gave Mickey the momentum to move to a real warehouse, an 800-square foot space in Santa Fe Springs, California.

Today, the company is based in a 110,000-square-foot warehouse in the City of Commerce, its
headquarters since 1996. The company also has distribution centers in New York and Miami, for a total of 165,000 square feet of warehouse space. A far cry from that initial start in the family garage.girls

And Cotton Heritage still remains true to the Indian heritage of the Sachdeva family. All the goods are manufactured in South East Asia and in other Eastern garment industry hubs. Because they can speak the language and understand the cultures of these countries, it makes it an easy place for the Cotton Heritage brand to be manufactured. Mickey says that these days, his only goal is to make clothes that he wants to wear. That means, using the best yarns and dyes possible and making sure that quality control is top notch.

This commitment to quality means that Cotton Heritage shirts are considered to be one of the best shirts for direct to garment printing. Mickey says that they achieve this by choosing the right quality yarns, knitting them tightly and then by choosing the right dyes and chemical suppliers and enzyme helps the product to create a flat and good surface for printability. They also use an enzyme wash to keep the clothes extremely soft (The enzyme removes all the impurities from the surface of the fabric and gives it a better appearance, surface, and hand feel.

Trends: How to Wear Camo

Look_1
It’s no secret that we’re pretty huge fans of the T-shirt here at Blankstyle, but we know out there in the real world some folks might wonder if the T-shirt can actually be the centerpiece of a work appropriate or even a date night outfit. We decided to answer that question with fall favorite – the camouflage T-shirt. The camouflage trend is everywhere these days and you can’t flip through a magazine without photos of celebrities like Miley Cyrus and Rihanna to Julianne Moore sporting the trend. So the big question is: How to wear it?

Camouflage has a decidedly masculine look to it, so you’ll want to balance it out with more feminine pieces, so think about pairing something like this blank camouflage T-shirt with lace, sequins, gold jewelry or high heels. And don’t forget the makeup. Go for an ultra girly look with bright red lipstick.

Here are three looks that are all centered around this Blankstyle camouflage t-shirt.

Look 1
When sizing your shirt, you want to think about the entire look. Since the base of Look 1, is a stretch pant, you can get away with a baggier T-shirt. But don’t go too big. You don’t want your shirt to look like a dress, but a looser fit is fine.
1. camo T-shirt | 2. moto jacket | 3. screw cuff | 4. stretch pants with leather detailing | 5. red lipstick | 6. earrings | 7. booties

look_2
Look 2
When sizing your shirt for this look, you can go for either a looser fit or a tighter fit, depending on your preference. Although the skirt is fitted, the longer length and chunky heel of the shoes keeps it from looking too risqué.

1. camo T-shirt | 2. bracelet | 3. crossbody bag | 4. faux leather skirt | 5. knee high boots | 6. necklace | 7. sunglasses

look_3
Look 3
The key to this look is sizing your shirt down a size. You need a fitted T-shirt so that the baggier track pants (another fall trend!) don’t end up looking sloppy.

1. camo T-shirt | 2. cropped blazer | 3. earrings | 4. pants | 5. bright clutch | 6. heels | 7. watch